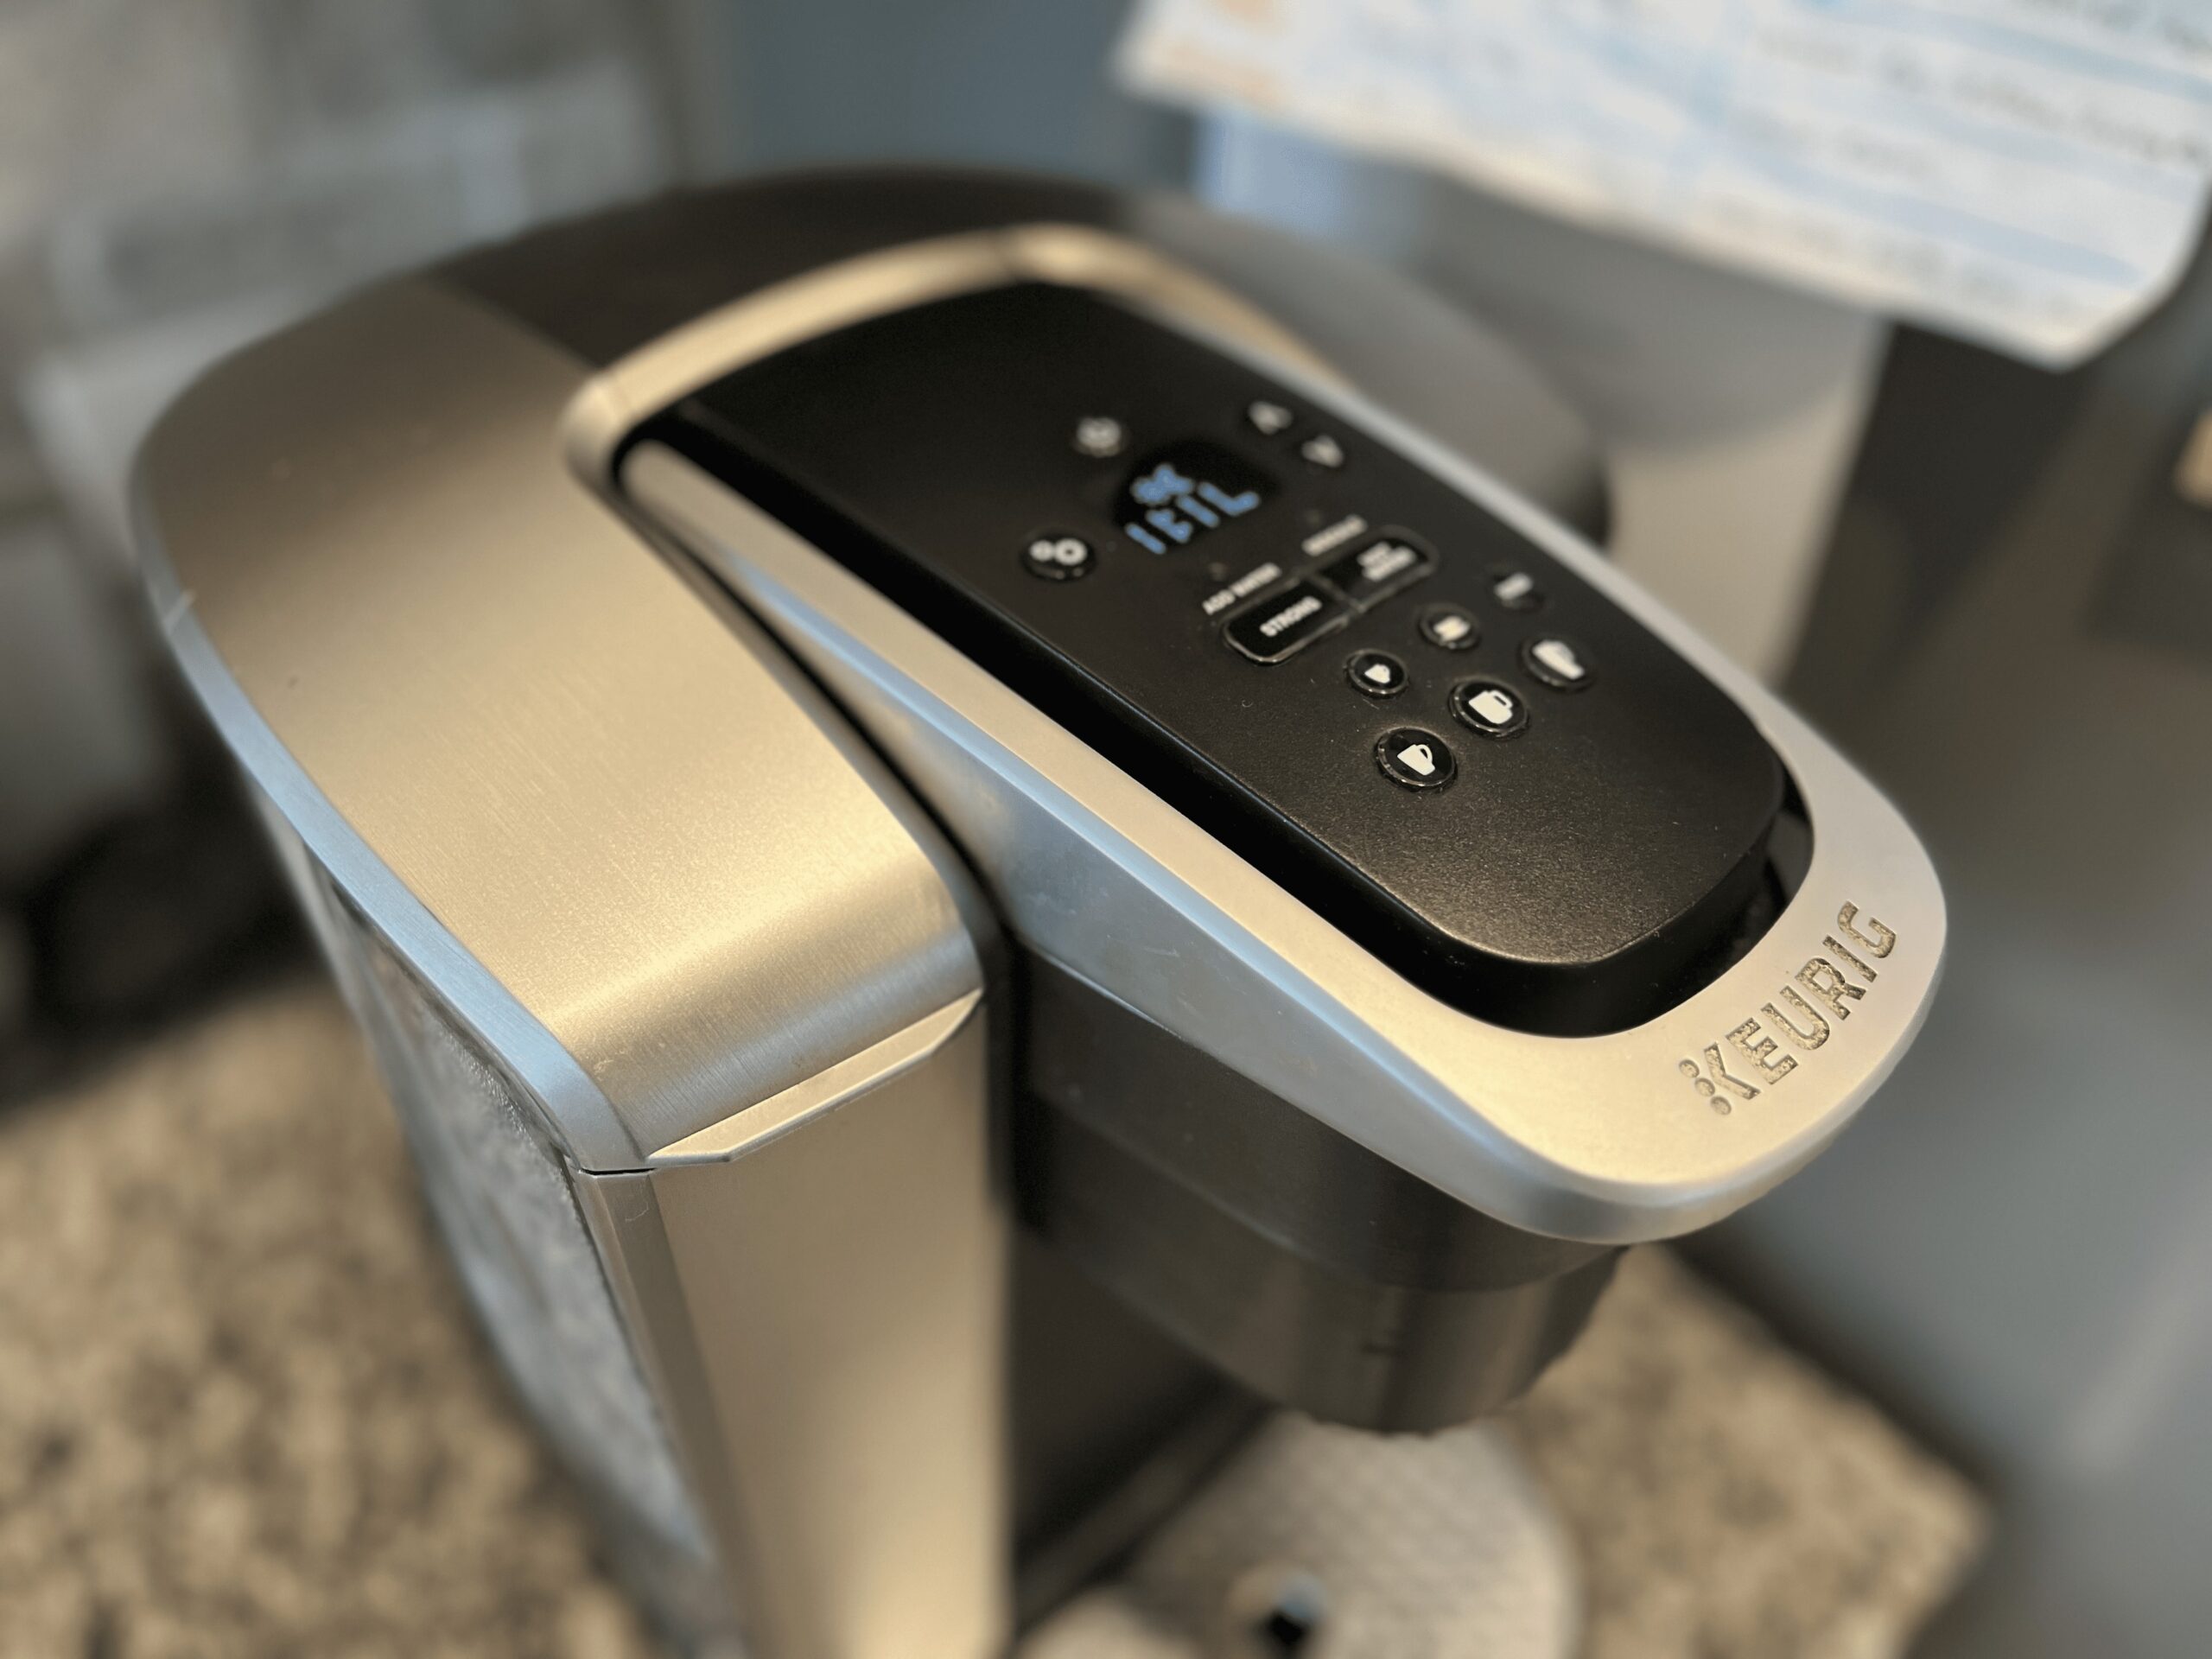
Whether you’re already an owner of a Keurig coffee machine or are looking to purchase one, you want to make sure to get your money’s worth. Depending on what model you decide on, you’ll spend anywhere from $80 to $180.
You’re curious about how long the machine will last and when you should replace your Keurig.
Keurig owners report having to replace their Keurig machine every three to five years, depending on how much use it is getting. You’ll notice a handful of things indicating it’s time to invest in a new Keurig.
Let’s dig deeper into Keurig’s warranty and how you will know it’s time to toss out the old one and purchase a new one.
What Does Keurig’s Warranty Include?
After purchasing your Keurig brewer, it is essential to register your coffee maker, so your purchase is in their system. Keurig offers a limited one-year warranty. To register your new Keurig, click the link.
If manufacturer defects occur with the machine within one year of purchase, they will most likely have you send in the device so the company can attempt to fix any issues you are having.
If your Keurig cannot be repaired, a new Keurig of the same model will be sent to you. Be sure to check out Keurig’s website for complete warranty information and their policy limitations.
Average Lifespan of a Keurig Coffee Maker?
As mentioned previously, Keurig’s typically last anywhere from three to five years, depending on how often it is used and how well it is taken care of.
Obviously, if you have multiple people in your household or the office, your Keurig will be getting a lot of use. Its life expectancy is going to be different from one only brewing one or two cups of coffee a day.
Signs You Need to Replace Your Keurig
There will likely be signs or indications telling you it’s time to invest in a new Keurig. Some clues may be overly clear and straightforward, like your machine won’t turn on anymore, while other signs may be more subtle.
Subtle Signs That Your Keurig is Dying…
- Keurig is leaking water: If you constantly have to clean up the water underneath your machine, it’s time to say goodbye. This typically indicates a broken seal or clogged water filter.
- It’s taking a long time to start brewing coffee: If once you press the “brew” button, your coffee takes several minutes to start the brewing process, it’s likely nearing the end of its life.
- Your coffee is coming out warm: Coffee is meant to be hot, so if your coffee is brewing at a lower temp, then there’s an issue with its heating element.
- Your coffee’s strength decreases: If you are preparing your coffee the same as you always have and it starts to taste weak or watered down, the water does not flow through the grounds evenly. You’ll likely want to start saving for a new Keurig.
- Keurig making odd noises: You’ve listened to your Keurig brew coffee for years and know what it should sound like. You know something isn’t functioning properly if it starts making weird sounds.
If you are experiencing any of these issues, give it a thorough cleaning before throwing your device in the trash. Many times, if there is limescale build-up, the machine will perform differently than expected.
A good detailed cleaning may be the trick to get your Keurig up and running efficiently again. Descaling is essential to keeping your machine clear of limescale. Cleancaf and Dezcal are two popular descaling solutions.
Clean Your Keurig Often to Make it Last Longer
Sadly, your coffee maker is likely one of the dirtiest appliance in your kitchen. When using a Keurig, you must keep the water reservoir and the inside of your machine from getting dirty. Any water just sitting in a container for days without cleaning will start growing unpleasant things. If not washed regularly, the water reservoir is often one of the dirtiest parts of your kitchen.
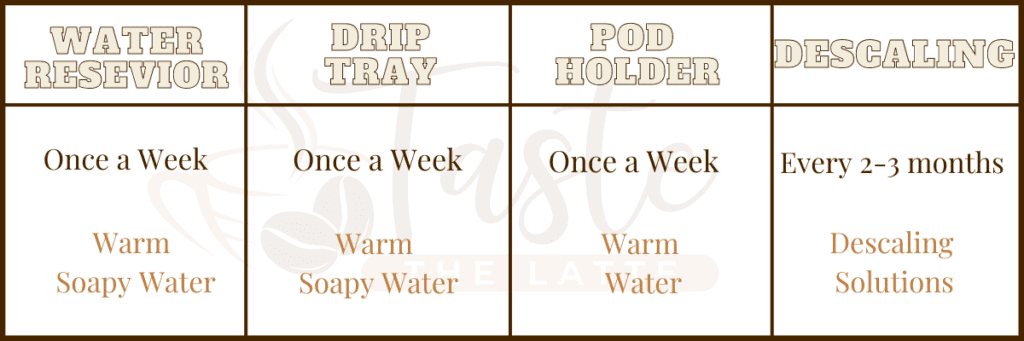
If you use your Keurig daily, we recommend cleaning the water reservoir every week. To clean, remove the reservoir from the device and take off the lid. With warm soapy water, gently clean the inside and outside. Be sure to rinse thoroughly after to ensure no soap remains.
To clean the drip tray, separate pieces from the machine and again wash with hot water and dish soap. Keurig does not recommend placing it in the dishwasher, but I’ve cleaned mine for years and never had an issue. So, it is up to you.
To clean coffee residue off the pod holder, carefully remove it from the device (you don’t want to get poked by the needle that punctures the K-cup). Wash with only warm water. Either air dry it or place it back into the machine. Along with the water reservoir, the pod holder is a prime place to grow mold.
Related Reading: “How to Know if my Coffee Maker Has Mold?“
Lastly, we have descaling. This is an essential upkeep for your Keurig. Descaling removes mineral buildup and limescale that decreases brewing performance and coffee taste. This should be done every 2 to 3 months, depending on your machine’s use.
To see how to descale your specific Keurig model, click here.
Using White Vinegar to Clean Your Keurig
When it comes to cleaning your Keurig, there are several different products you can use. Below is a list of everyday household items that can be used to clean it.
I prefer using cleaning vinegar or white vinegar every so often, as it does a great job without using any harsh chemicals. To do this, simply fill the water reservoir with the vinegar and run a few cycles through the Keurig.
Once all the vinegar has run through the machine, let it sit for a few hours so the vinegar can do its work inside the Keurig. After, rinse and fill the water reservoir with fresh water and run through another few times to clean all the vinegar from the machine.
Cleaning a Keurig Without Vinegar
I know many people can’t stand the smell of vinegar, so you’re not out of luck when it comes to cleaning your Keurig. There are some others options available to you listed below.
- Coffee Maker Cleaning Solution
- Warm water and dish soap
- Salt and cold water
- Baking soda
- Borax Household Cleaner
- Hydrogen Peroxide
- Lemon Juice
- Cream of Tartar
Be sure to check out “How to Clean Your Coffee Maker Without Vinegar” for more detailed and exact information.
With regular cleanings and proper maintenance, you can keep your Keurig machine running great for years to come.
Your Water Matters in a Keurig
Not only does the quality of your water affect the taste of your coffee, but it also affects how the machine functions and its lifespan.
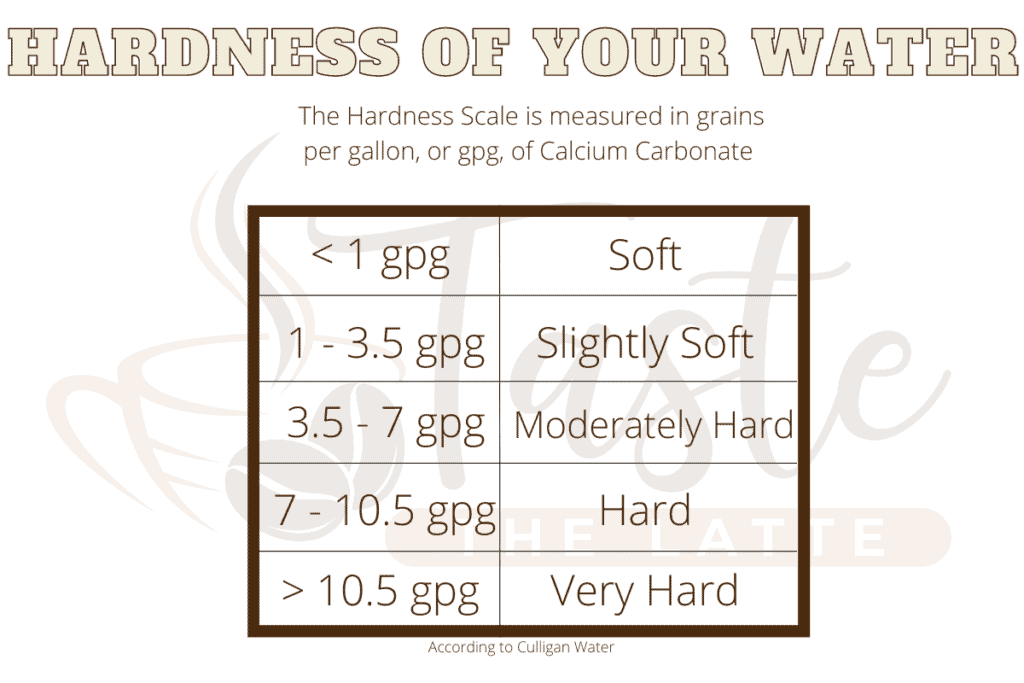
Many households have very hard water, meaning it has a high grain per gallon of Calcium Carbonate. The harder your water is, the harsher it is on your Keurig.
You can purchase a test kit to see how hard your home’s water is. More cleaning will be necessary if you find your water is on the harder side.
To read more about what type of water you should use in your coffee machine, click here.
Final Thoughts on Needing to Purchase a Replacement Keurig
Replacing your Keurig every three to five years is likely what you will experience.
Unfortunately, your favorite Keurig coffee machine won’t last forever, but there are ways to keep it brewing great for longer. Regular cleanings and descaling every few months are essential maintenance duties that need to be done consistently.
If you’re experiencing any of the issues described above, and a thorough cleaning isn’t doing the trick, you may want to look into getting it repaired if it’s only a couple years old.