There’s something about those fancy coffee drinks topped with foam from the local coffee shop that just enhance your coffee-drinking experience. What if you could make coffee with that great froth in your kitchen?
That great foam on the surface of your favorite drinks like cappuccinos and lattes is made from frothed milk. You’re probably wondering what frothed milk is and how you can make it at home.
Frothed milk is when air bubbles are added to the milk by aerating it, often with a steam wand. Adding frothed milk to your coffee creates a light and creamy texture. The quality of the foam depends on how it is made and the type of milk you use.
There’s so much more to learn about frothed milk and how to make it at home. Once you know a bit about frothed milk, learn how to make those beautiful latte art designs. Let’s dig in, so your next cup of coffee can have that fluffy foam we all love.
How is Frothed Milk Made?
Frothed milk is made by adding air bubbles to the milk by aeration. This can be done a few ways.
Nowadays, making a cappuccino at home with all that tasty froth is easier than ever. If this is something you enjoy drinking on a more regular basis, you may be interested in purchasing a quality espresso maker that will make the froth for you.
Unfortunately, these can get a bit pricey. The best espresso and froth maker we found is the De’Longhi La Specialista Espresso Machine, and the price tag shows it. If this is your first time experimenting with making your own froth at home, you’re probably interested in something a little less expensive.
If this is the case, we recommend the De’Longhi Stilosa Manual Espresso Machine and Frother, or the Mr. Coffee Espresso Machine with Automatic Milk Frother. Both are excellent options to help you make your favorite coffee drink with great foam.
Still don’t want to spend that much? Our following two options may be what you’re looking for. First, there is a pump frother. I like the Ninja Milk Frother, which costs around $20-$30. You can also purchase a simple handheld froth maker for under $20.
Making Froth With a Handheld Frother
Okay, so now that we’ve gone over all the different devices that can help you make your froth at home, let’s go over the steps to preparing it with a simple handheld frother.
1. Heat Your Milk
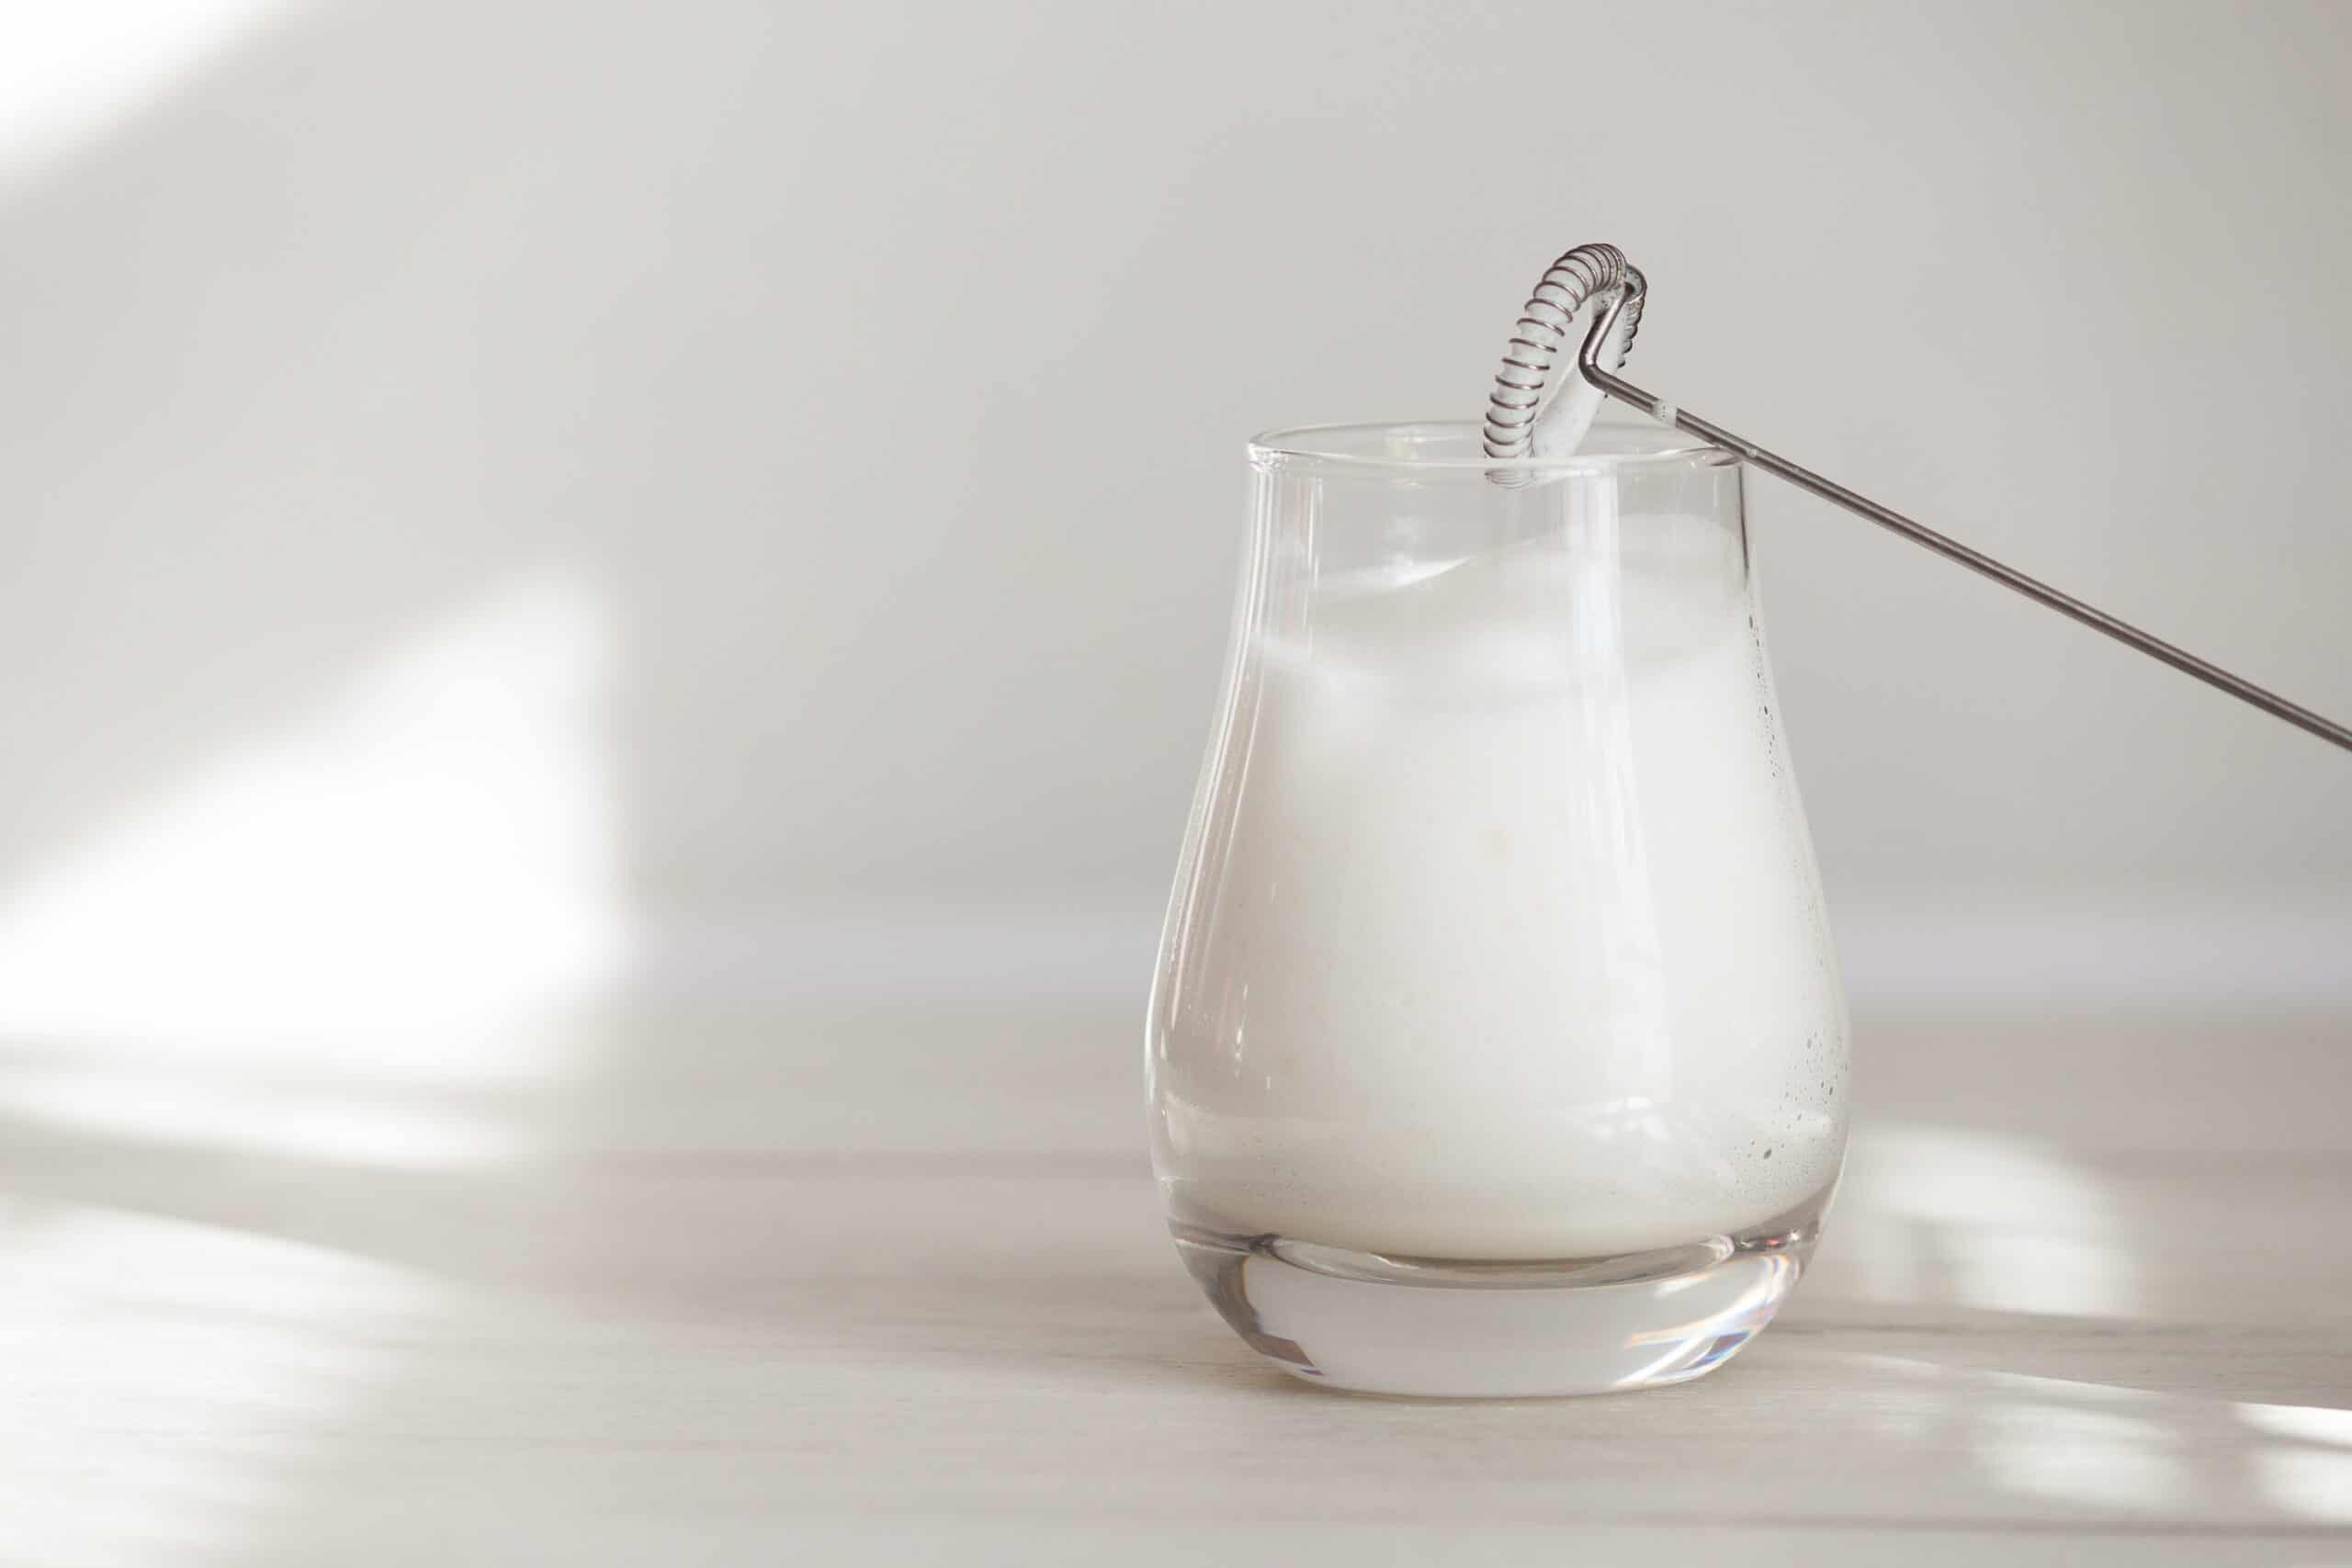
To produce the best foam, it’s essential to heat your milk to about 150 degrees Fahrenheit. (We’ll discuss the best milk to use later in this article.) Hot milk helps prevent the bubbles from disappearing immediately. TIP: You don’t need a lot of milk to froth.
2. Froth the Milk
Pour milk into a taller cup if not already in one, and hold at a 45-degree angle. Turn the frother on and place it right at the surface of the milk. Move the frother to aerate milk for about 30 to 45 seconds until you have a nice foam.
3. Combine with Coffee
There are two ways to combine milk froth with coffee. First, if you have a strong foam going and want some added milk to your coffee, you can simply pour coffee into the froth. This method typically only works if you use low-fat or nonfat cow’s milk.
If using alternate milk, I recommend spooning the foam out of the cup and adding it to your coffee.
Making Froth Without a Frother
If you fall into the category where you don’t have any of the machines mentioned above or devices and still wish to have some froth in your coffee, you’re not entirely out of luck. There are some other methods that will get the job done.
Let’s look at some of the other options available to you below.
1. Whisk
Most of us have a whisk in our kitchen. For this method, heat up your milk as before and whisk the heated milk. You may want to pour it into a more shallow bowl to allow you more room to move the whisk. Once the bubbles have formed, scoop into the coffee.
2. Immersion Blender
An immersion blender is similar to the handheld milk frother and is used pretty much the same way. The only difference is that an immersion blender tends to cause a bit more mess, so be aware of this and take extra precautions.
3. French Press
If you have a french press, I suggest this method over the previous two listed. A french press works similarly to a hand-pump milk frother. First, heat up the milk and then pour it into the french press, ensuring not to overfill as the milk will increase in volume.
Pump the plunger back and forth until the froth is made. Next, add the foam to your coffee and enjoy!
4. Mason Jar
If all else fails and you don’t have any of the above-mentioned items, grab the nearest jar with a lid. Once again, heat the milk any way you please and then add it to your jar. Be sure the top is securely screwed on and shake for about a minute or until you have your desired amount of foam.
Finally, after a good arm workout, pour into your coffee or spoon out the foam into your mug. This is, of course, the last resort to get froth for your coffee. It’s not the best, but it will get the job done.
Difference Between Frothed and Steamed Milk
Many people often get frothed milk and steamed milk confused. They are not the same, but they are similar. Although both will have tiny bubbles (foam), the steamed milk‘s bubbles are smaller, called microfoam. Frothed milk contains more air and less water.
This difference is due to how it is prepared. Whereas frothed milk is aerated by using the steam wand slightly above the surface of the milk, steamed milk is warmed by placing the steam wand below the milk’s surface.
Best Milk to Use to Froth?
Frothing can be done with any milk of your preference, but the quality, taste, and texture will differ depending on what type you use.
You may be surprised at what type of milk produces the best froth. Many assume full-fat cow’s milk (whole milk) will yield the most supreme foam full of rich flavor; this is incorrect. Low-fat and nonfat milk is the best milk to use when trying to make froth. These have a good balance of fat and protein, allowing for great foam.
Milk with less fat content can produce more air bubbles. When the fat content is high, it weighs down these bubbles and creates less foam. Although higher-fat milk offers more flavor, it can often be tricky to make froth with it.
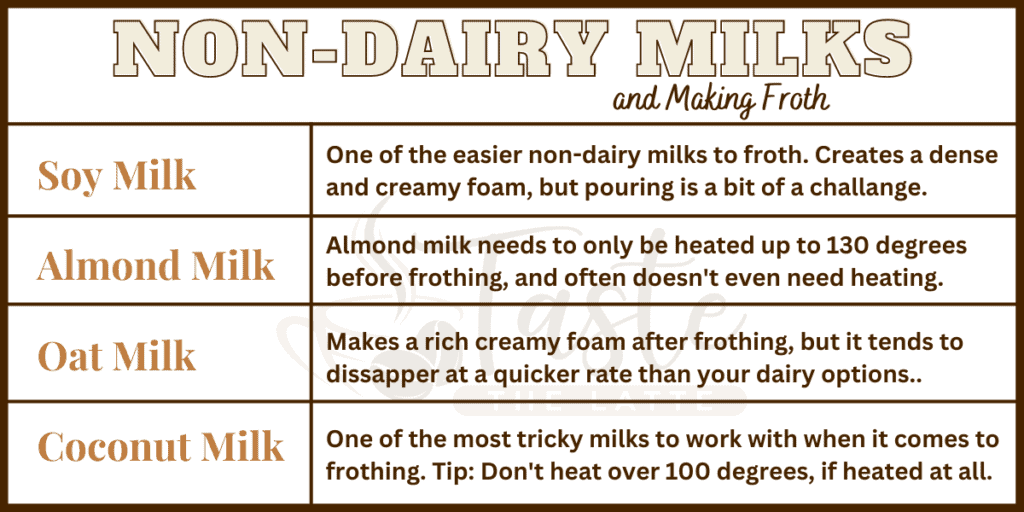
Now, what if you’re someone that can’t drink dairy? No worries. There are other non-dairy milks you can try, including almond milk, soy milk, oat milk, and coconut. Refer to the table below for a closer look at these options.
How Long Does the Froth or Foam Last?
Unfortunately, the foam created by frothing milk does not last very long. Just as soapy water starts to lose bubbles within minutes, the tiny bubbles you find when frothing milk will also disappear within minutes.
Of course, the type of milk you use and how it is frothed will determine how long your froth will stay. So, if preparing for yourself or others, be sure to serve immediately after making.
What is Frothed Chilled Milk?
So far, we have recommended heating up your milk before frothing but noted it’s not always necessary. Frothed chilled milk is milk that is not heated up during aeration.
Frothed chilled milk is excellent to make and use when preparing iced coffees or cold brews.
Other Espresso-based Drinks with Frothed Milk
Cappuccinos are the most common espresso drink that incorporated milk foam, but it’s not the only. Lattes and Macchiatos also use frothed milk in their recipes. In fact, the primary difference between a latte, macchiato, and cappuccino is the ratio of milk foam and coffee (and the addition of steamed milk).
Final Thoughts
In conclusion, frothed milk is milk that has been aerated to add creamy, delicious foam to your coffee drink. Frothing can be done in various ways, including an espresso machine, froth pump, handheld frothing wand, whisk, and even a jar.
So froth away, and enjoy your next frothed drink at home!